Origami Lotus Flow Diagram Tutorial Instructions
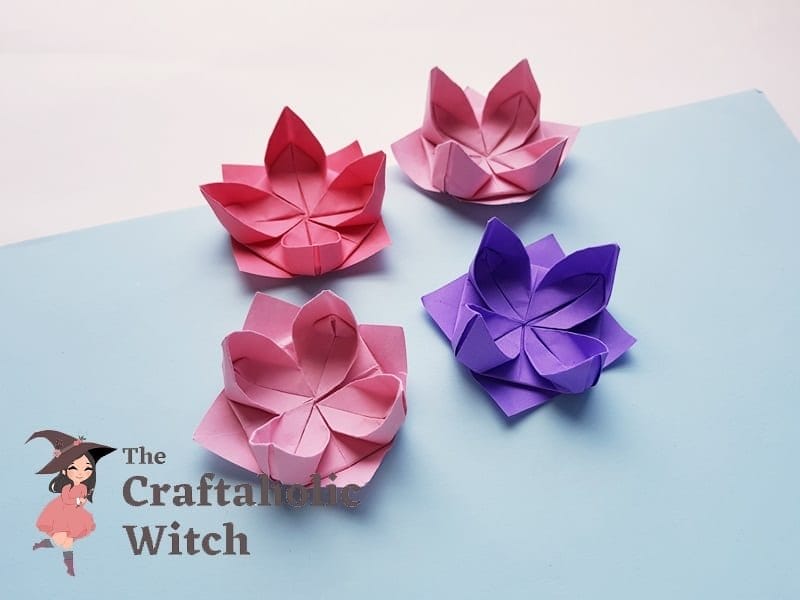
Papercrafts are always the best when it comes to learning or practicing crafts, and among all kinds of papercrafts, we love origami crafts! We're here with an easy and simple origami lotus flower with step-by-step folding instructions.

Origami crafts are always a good idea to spend some quality craft sessions with fewer craft supplies. All you need is a piece of paper and you're good to go. These paper lotus flowers turn out so beautifully and you can learn how to make them too with our easy step-by-step instructions. These origami lotus flowers can be used for so many other crafts. You can use them to make flower wreaths, wall decor, cards, to decorate gift boxes, and much more.
All you need is a piece of square paper to make a cute origami lotus flower. If you already have craft papers at home then it would cost $0 and 5 minutes to get the craft done. So, grab a piece of paper and get started!
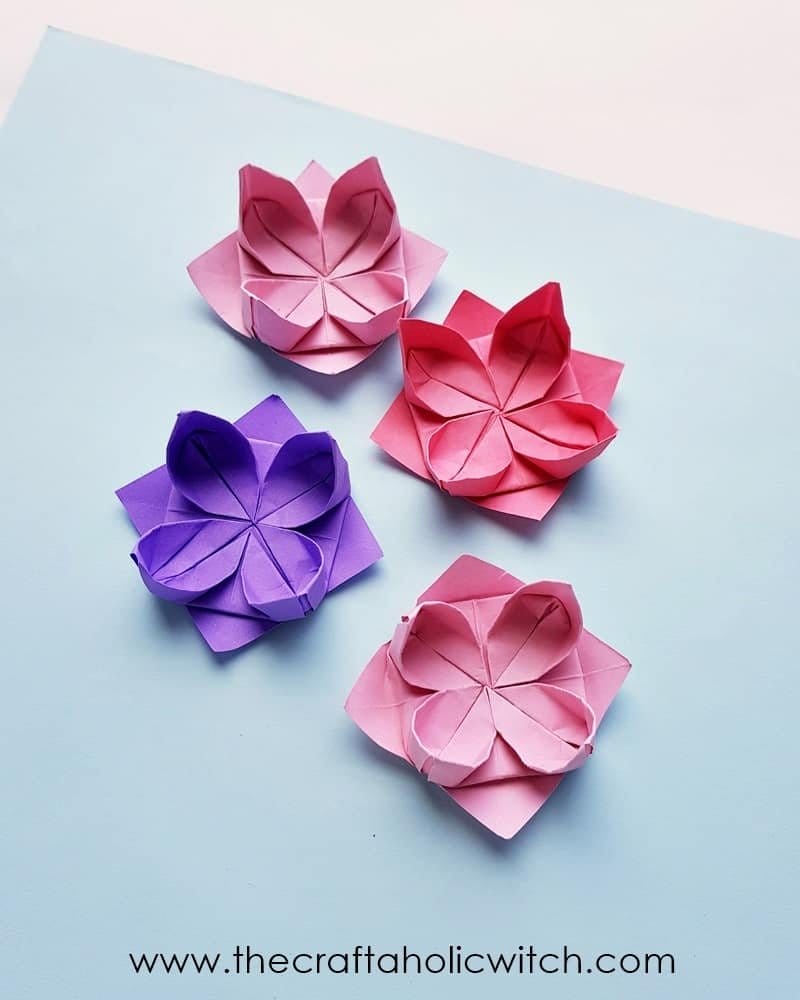
How to Make Origami Lotus Flower With Single Sheet of Paper
Things You'll Need
Materials
- Colored craft paper (If you don't have craft papers at home, you can consider these origami papers from Amazon (my affiliate link)).
Tools (Optional)
- Ruler
- Pencil
- Scissors
- Craft glue
Using tools is optional if you're good with freehand measurements of paper. But if this is your first attempt at making origami crafts, we suggest that you use a ruler and pencil to trace a square shape on the paper; and use scissors to cut out the traced square nicely from the paper.

Step-by-Step Folding Instructions
Step 1: Base Creases
Take the square paper and make half folds on both sides and then unfold each half folds. Fond the square paper into half diagonally on both sides and unfold them again. These 4 folds are to create creases on the square paper.

Step 2: Folding Corners
Hold a corner of the square paper and fold it inside, joining the corner with the center of the square paper. Similarly, fold the rest of the 3 corners of the square paper.

Step 3: Folding Corners (2nd Time)
Fold in all 4 corners of the current pattern once again.

Step 4: Flip the Pattern
Without unfolding any of the previous folds, carefully flip the current paper pattern to the other side.
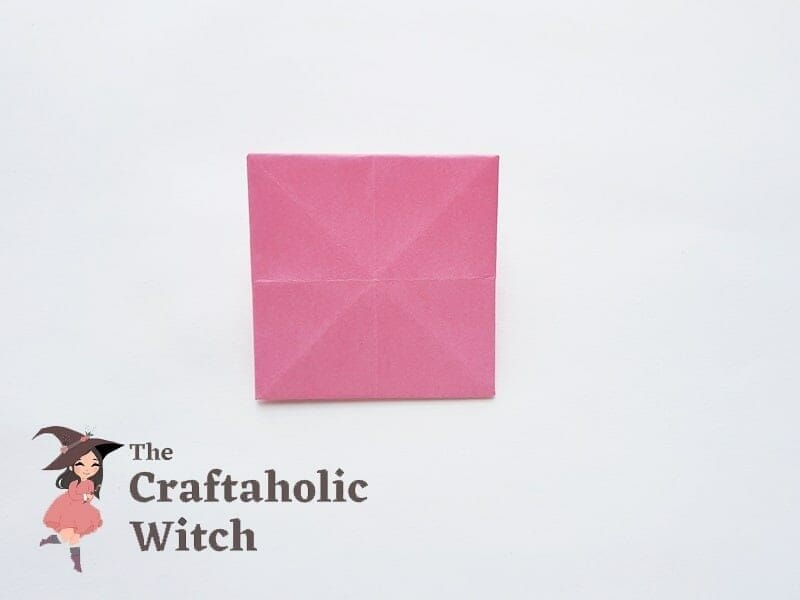
Step 5: Folding Corners (3rd time)
Hold the corners and fold them inside towards the center of the pattern like we did in the previous steps.

Step 6: Unfold the Last Folds
Now unfold the last corner folds of the paper pattern.

Step 7: Fold out Corners
Hold any one of the corners and fold-out 2/3 of the paper outwards. Similarly, fold out the rest of the corners.

Step 8: Flip the Pattern
Keeping the folds of the previous step intact, carefully flip the current paper pattern to the other side.

Step 9: Fold in Corners
Notice that there are 2 squares, one on the top and one on the bottom. Hold a corner of the top square and fold it towards the center. Apply glue if necessary (although that's optional).

Step 10: Fold in All Corners
Similarly, fold in all 4 corners of the top square towards the center of the pattern.

Step 11: Fold out the Bottom Layer
Now carefully flip the current pattern and unfold one of the bottom layers.
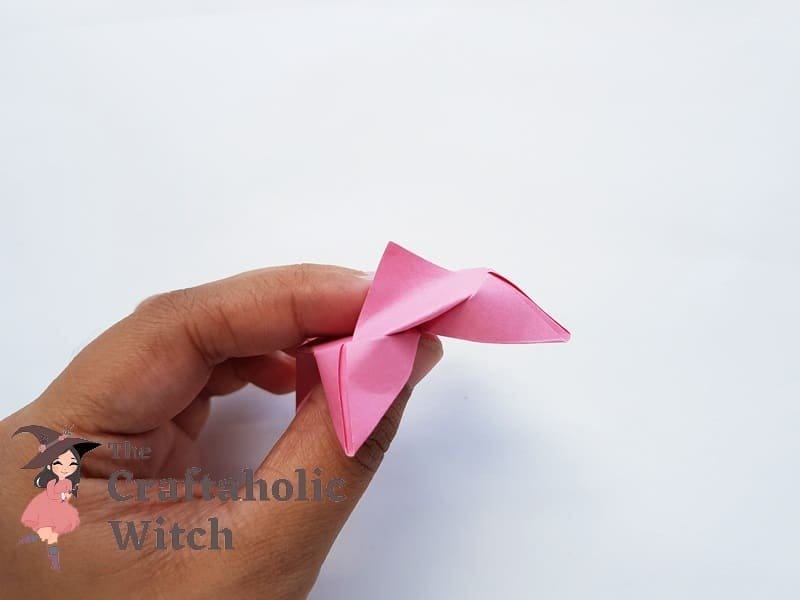
Step 12: Bring the Bottom Layer to the Front
Fold out the bottom layer to the front nicely and neatly.
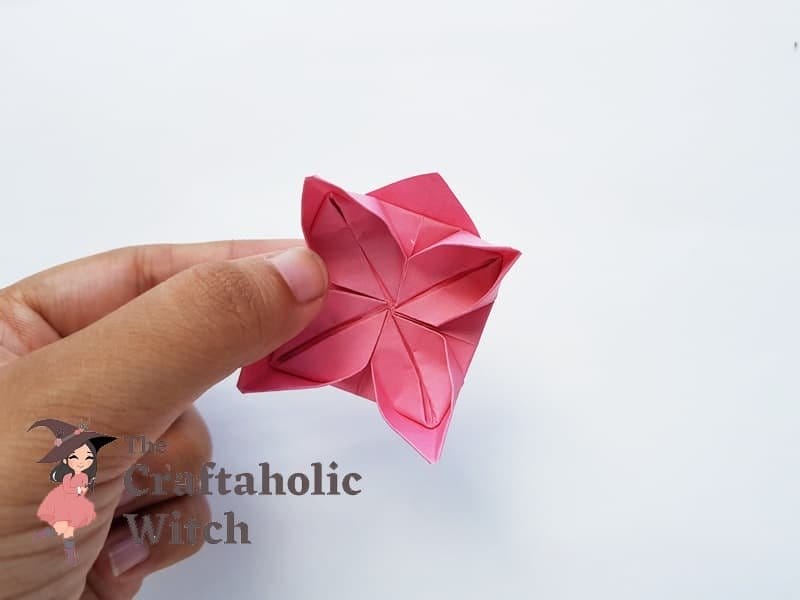
Step 13: Bring All 4 Bottom Layers to the Front
One by one, fold out all 4 layers from the bottom and towards the front to complete the origami lotus.

And we have our origami lotus flower ready! You can practice origami lotus making to perfect your paper folding skill as well, this is a great craft for practicing and perfecting origami folding skills.
Watch Video: How to Make Origami Flowers – Origami Lotus Folding Instructions
Folding an Origami Lotus: Tips for Beginners
Here are some tips if you're having difficulty crafting the lotus flowers perfectly.
- Make sure to measure and prepare a perfectly square piece of paper
- The initial base folds need to be done neatly.
- Simply join the outer corners with the center of the square pattern to make neat corner folds.
- You can apply glue in steps 9 and 10 to secure the folds nicely.
- Be careful when folding out the bottom layers, pulling them out in a hurry might result in ripping the sides of the layers.
And that's it! We really hope that you enjoy crafting the origami paper flowers just as much as we did.
Some of Our Paper Flower Making Tutorials You May Like
- DIY Paper Roses with Free Template
- DIY Crepe Paper Roses
- Paper Daisy Flowers with Free Printable Template
- Small Paper Cosmos Flowers
- Paper Lilies with Free Template
A Crazy Craft Addict! Love swirls, colors, shapes and of course to learn and share craft ideas
Origami Lotus Flow Diagram Tutorial Instructions
Source: https://www.thecraftaholicwitch.com/origami-lotus-flower/
0 Response to "Origami Lotus Flow Diagram Tutorial Instructions"
Post a Comment